Collaboration
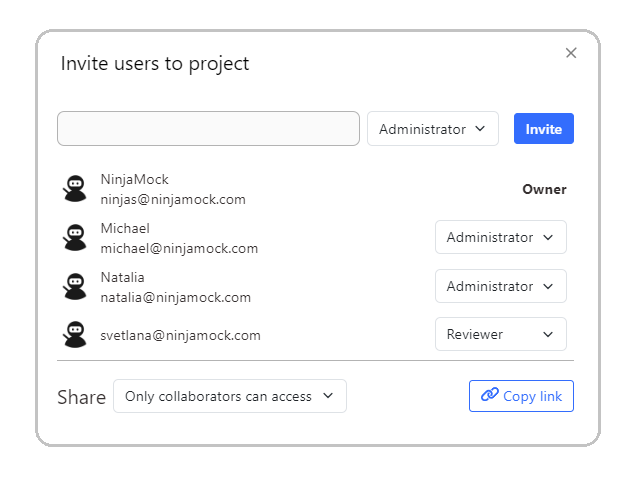
Invite
Invite team members to work in your spaces.
Coworking
Cowork with your teams members with help of real-time visualizations.
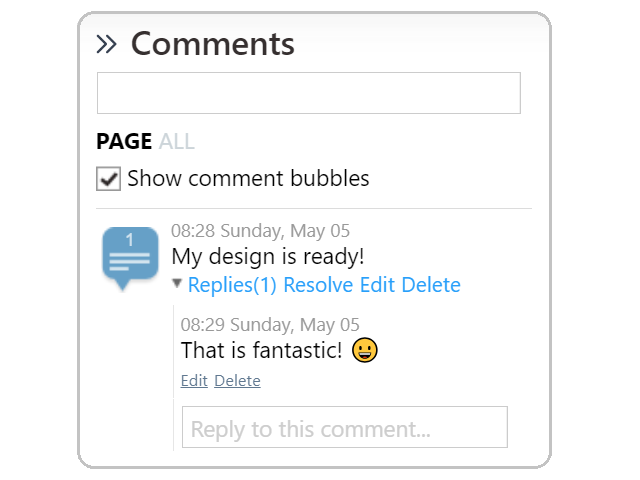
Comments
Write, reply, resolve or delete comments in your project.
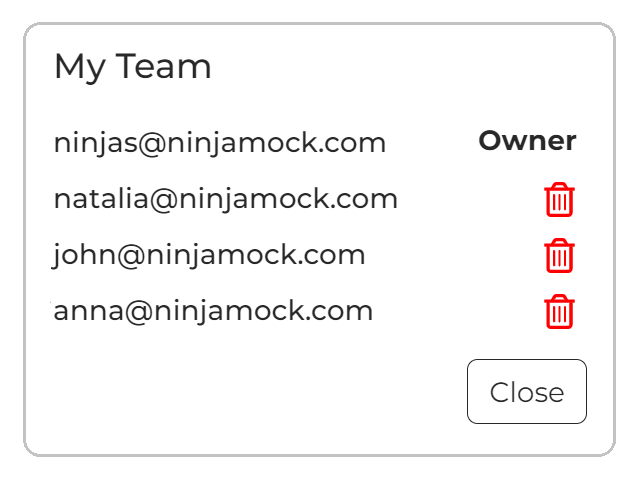
Team
List the members of your team at any time.